The location
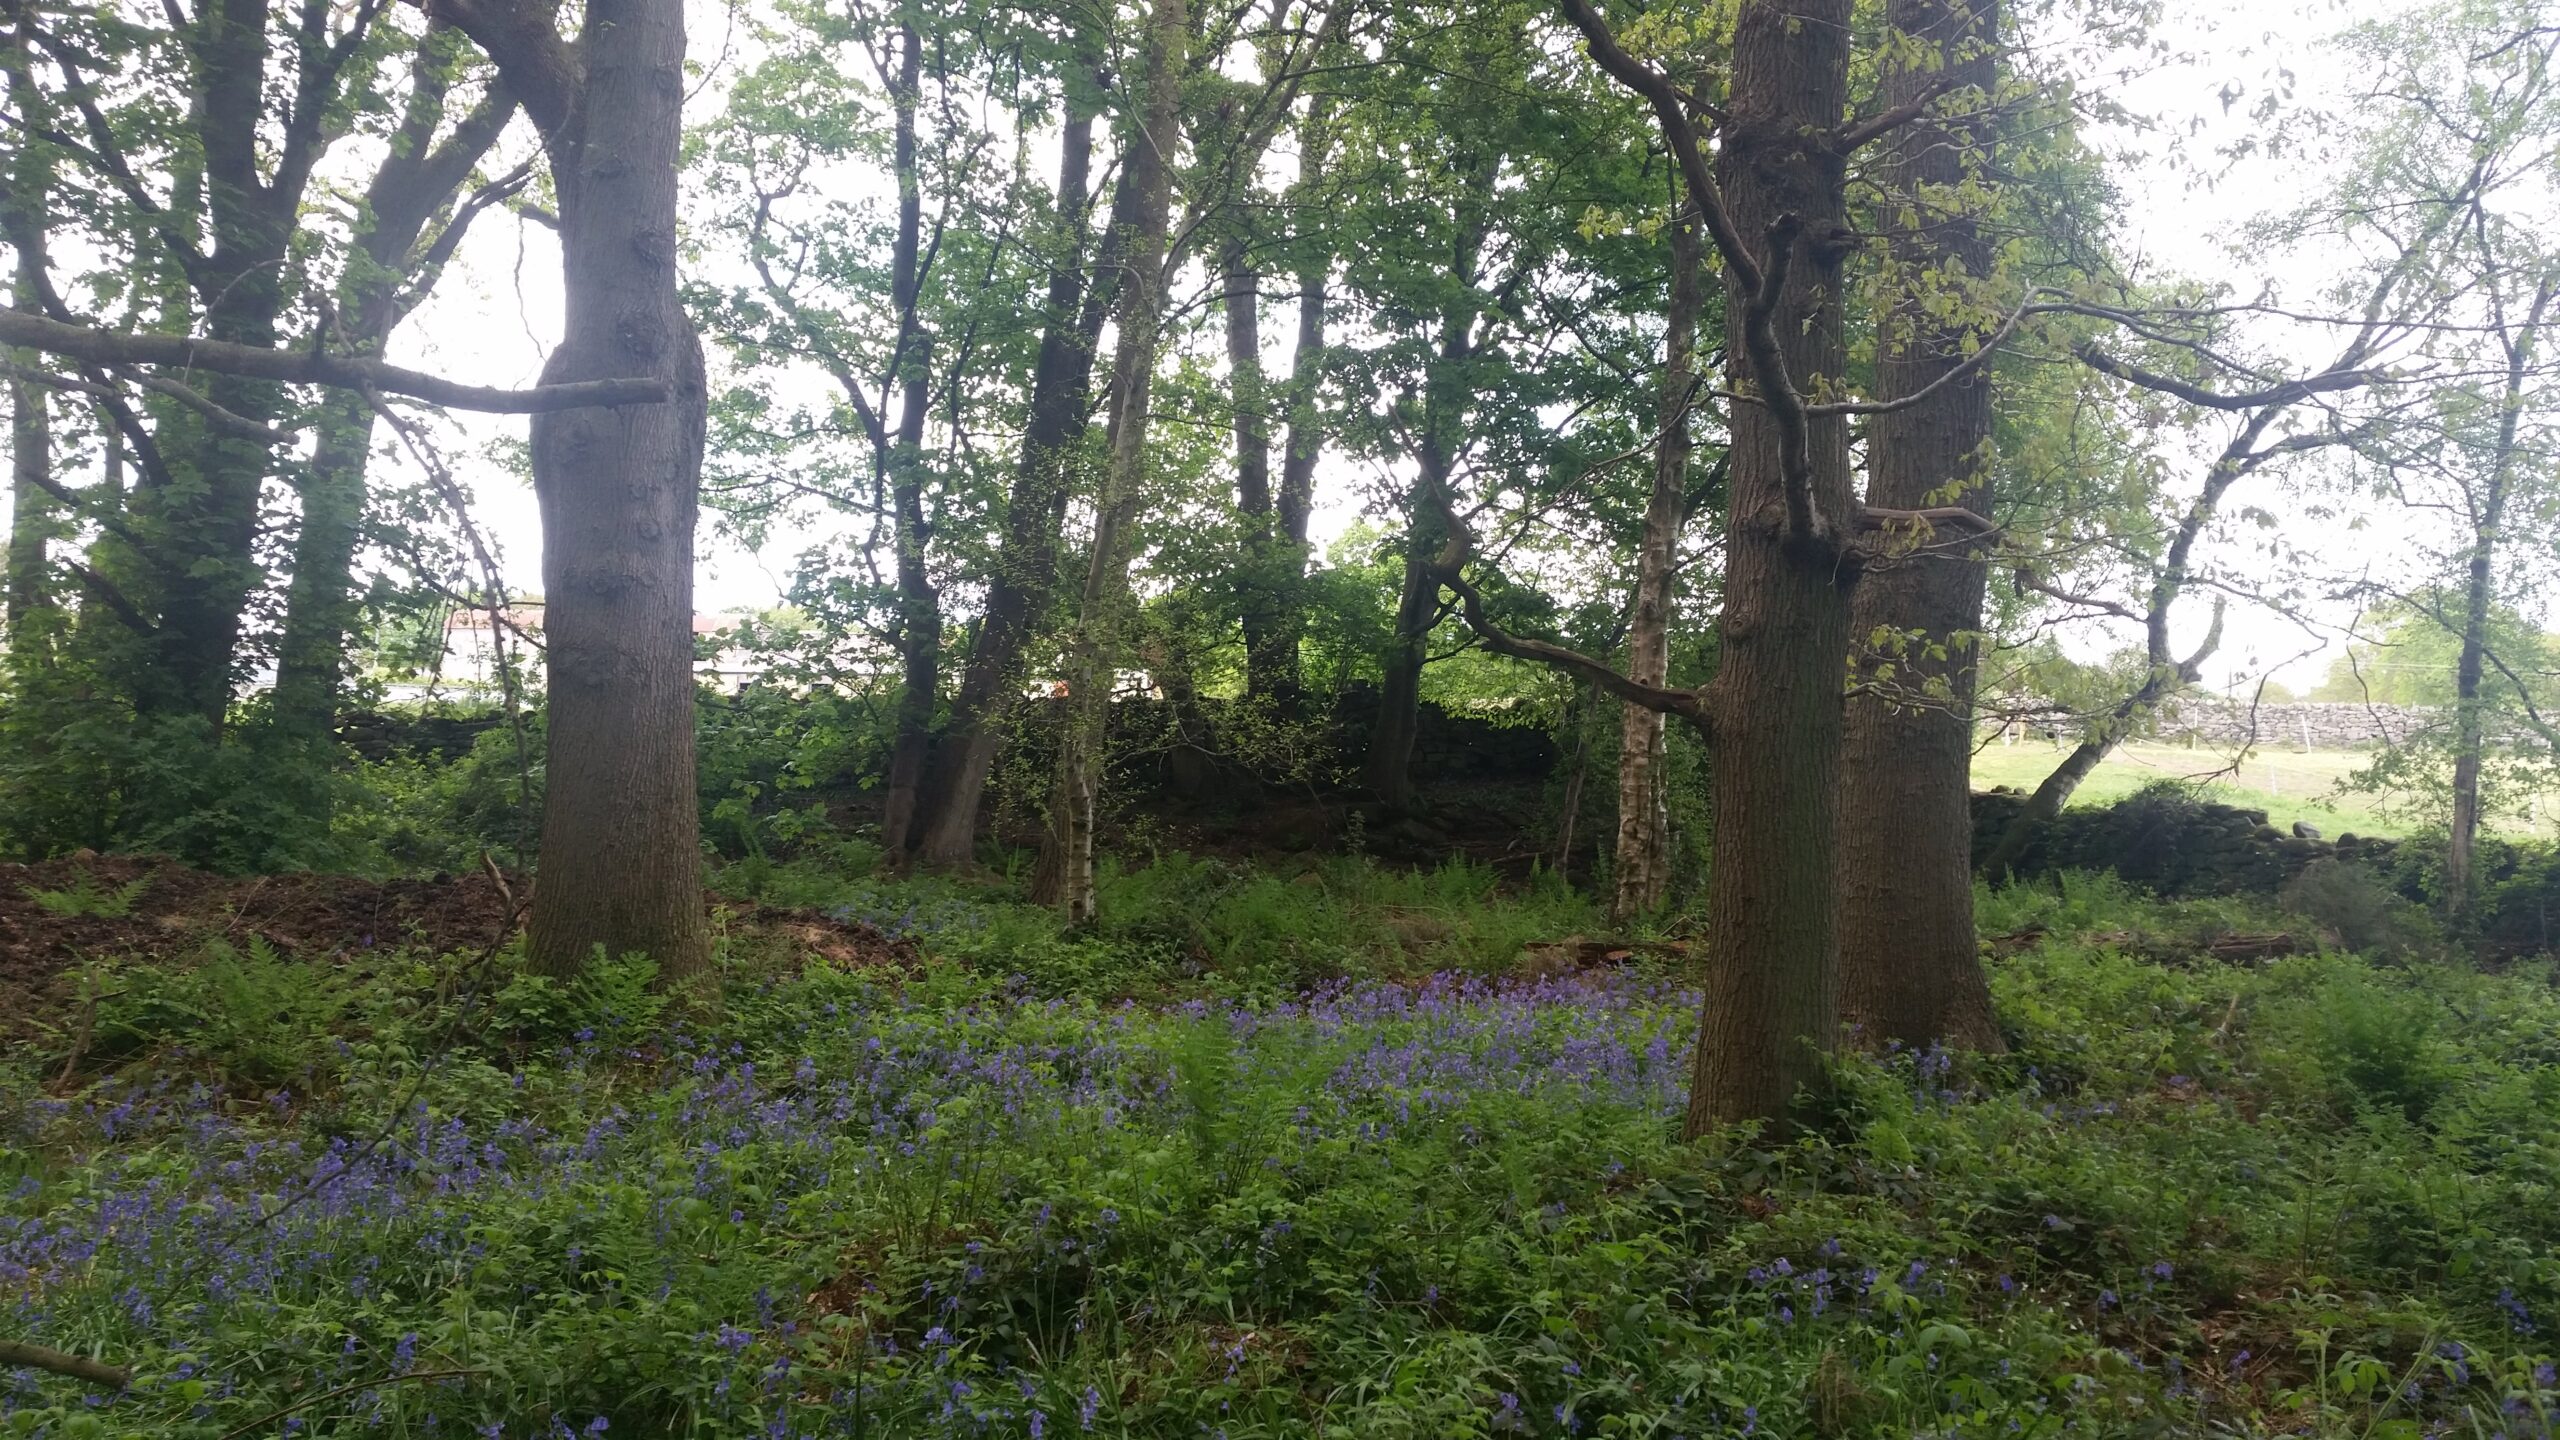
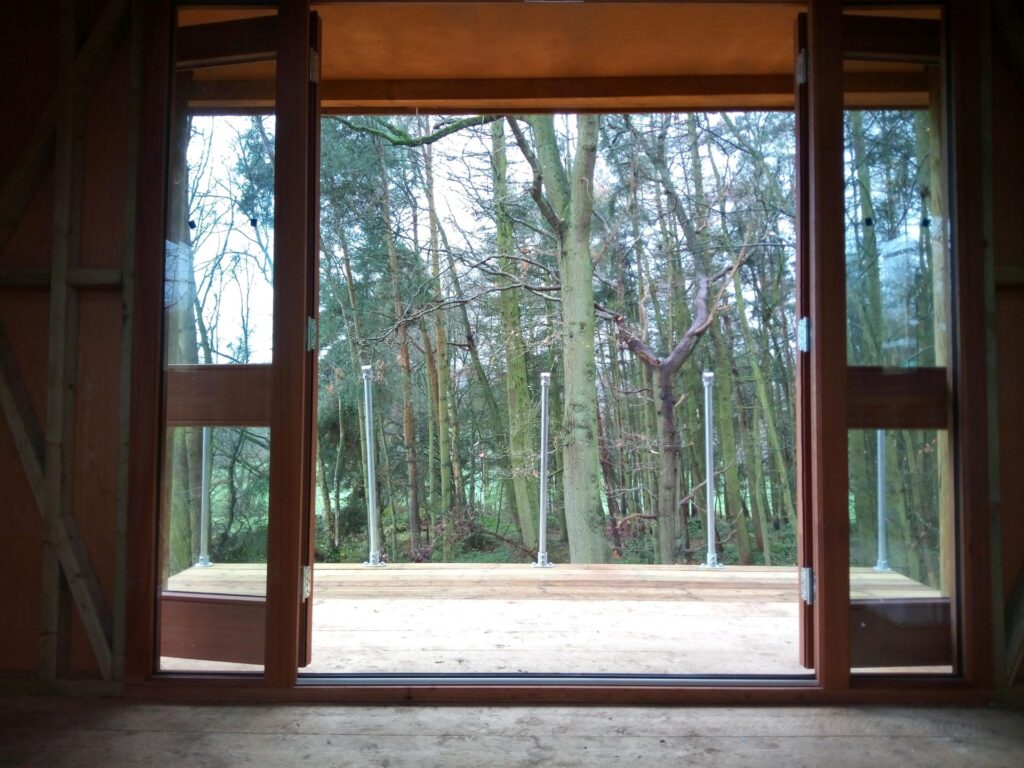
Our initial concern was to find the best location for the treehouse – one which had the minimum impact on the surrounding environment, the AONB, but which provided the best position to enjoy the advantages of this area of outstanding natural beauty. This was relatively straightforward – the corner of Spring Wood offered a secluded location , with a distinct change in level, which would enable the treehouse to be set into the dell as enabling the treehouse to blend in, simultaneously providing a setting from which to survey the valley landscape.
The design
The design required to reflect the challenges of building in a woodland setting, as well as the need to have safety in the finished construction.
Materials
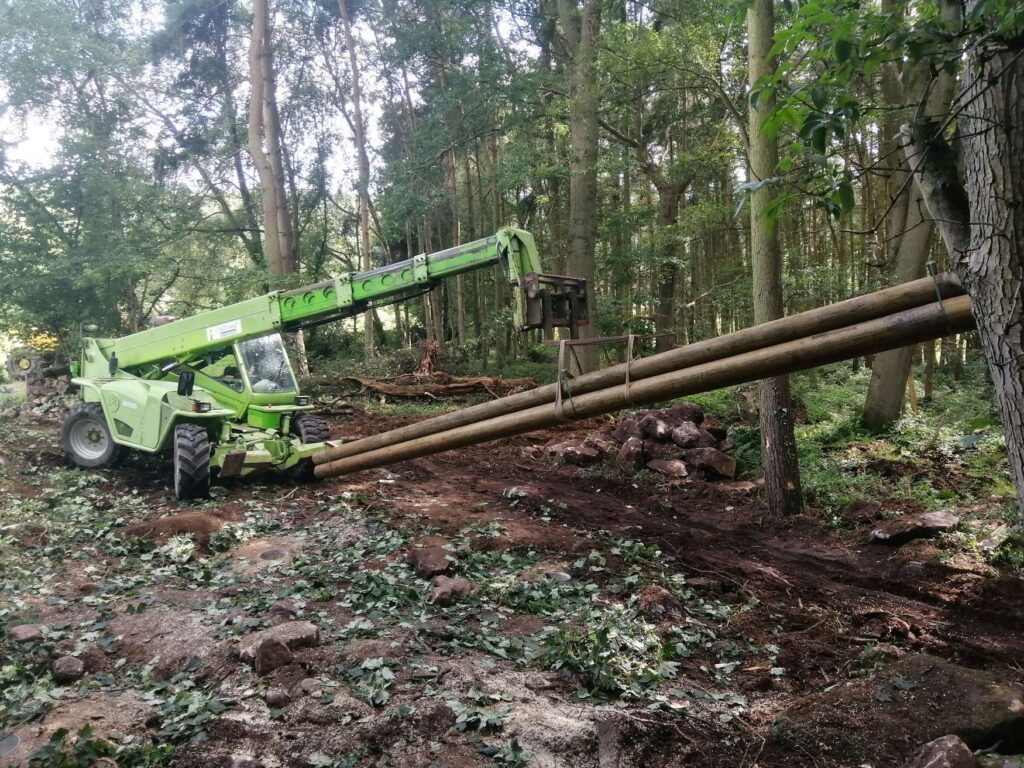
The initial plan was to use recycled materials. We had a number of old telegraph poles, but using these proved to be impossible due to the regulations surrounding “creosote,” a preservative which is considered to be toxic, and which could not be used near the treehouse. Instead, we required to purchase new poles, treated with copper biocide, which provided the required strength and longevity.
The construction
The “Big Dig”
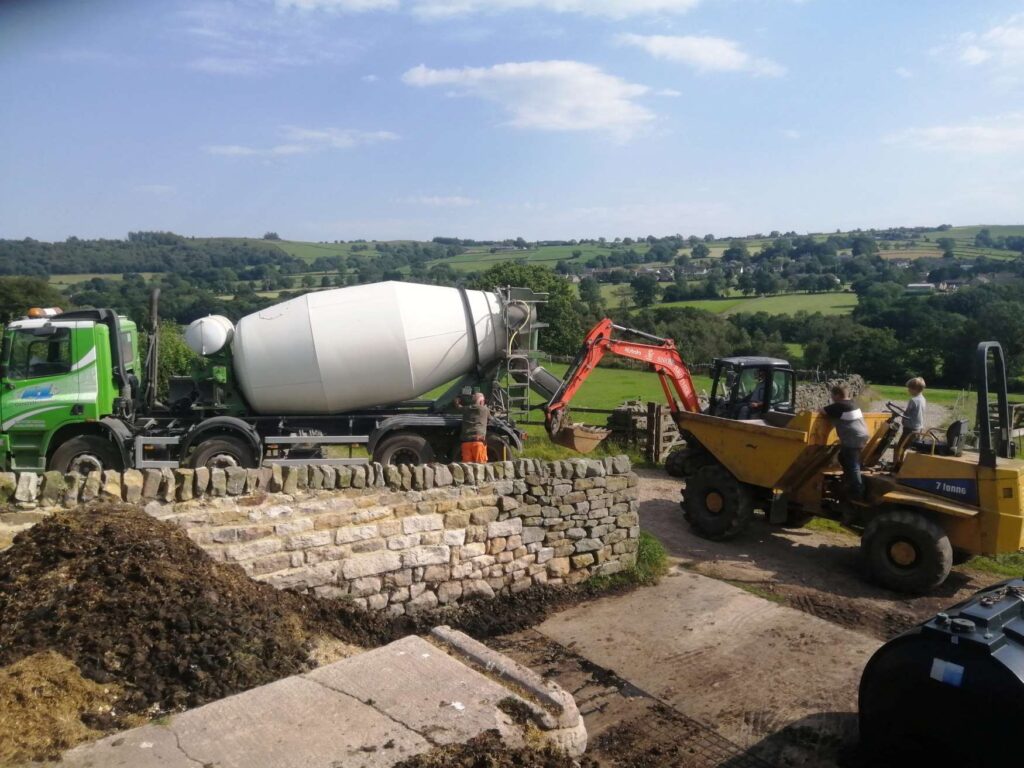
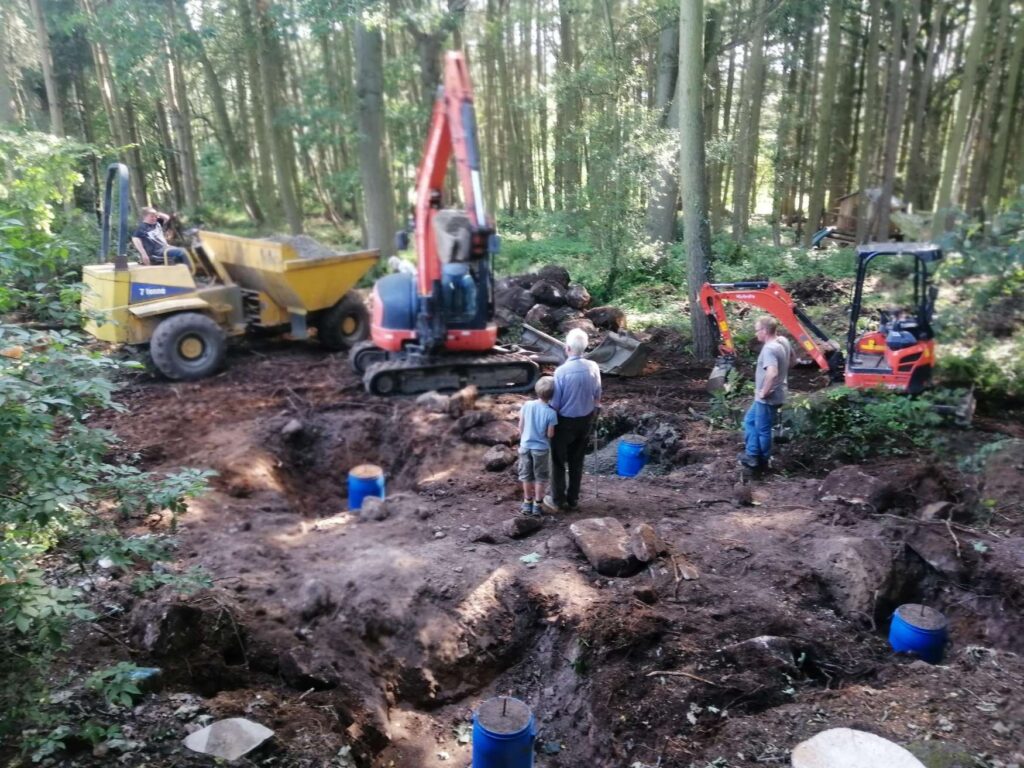
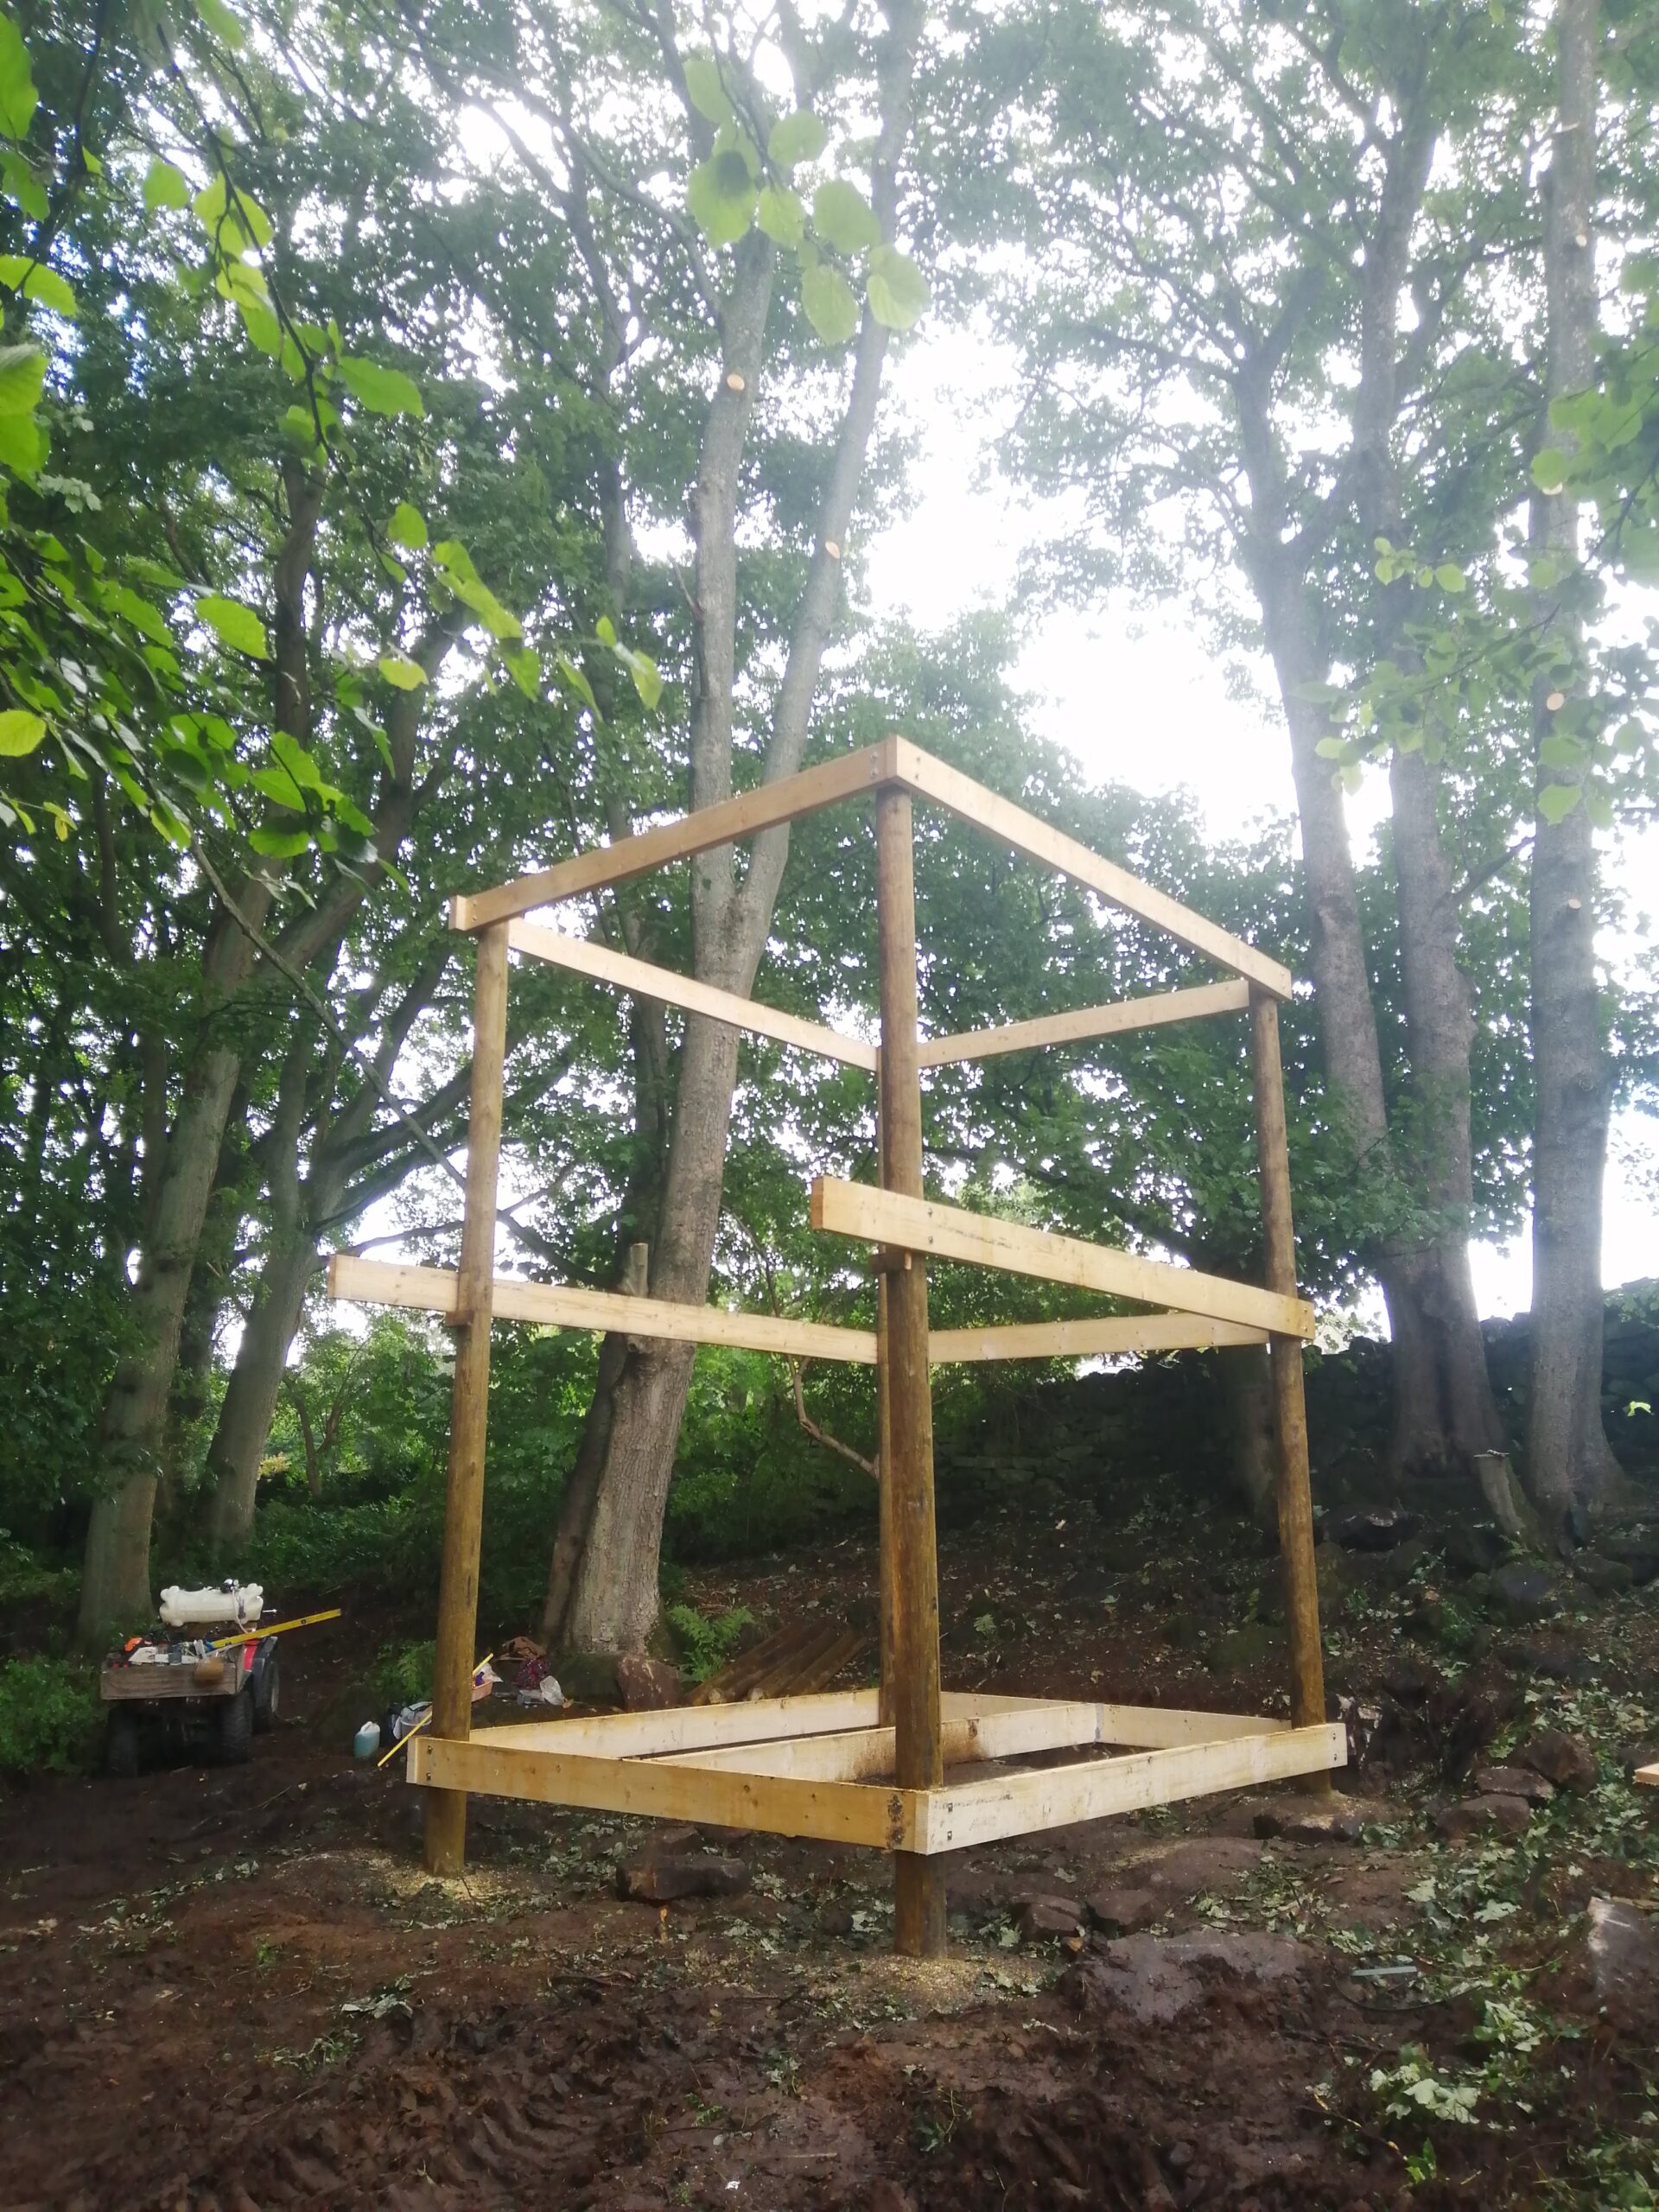
The construction works started in July 2020 – during the COVID-19 lockdown – with the digging of the footings for the poles. In this endeavour we required a suitably large “digger” – the rocks in the woodland are the remains of the glacial moraine from the last ice-age – and to dig 4 footings – level and square – required some expertise.
Similarly, finding suitable quality recycled material for a construction which required structural integrity and assurance lead us to buying C24 graded timber for all the structural elements of the treehouse.
Meccano® for “grown ups”
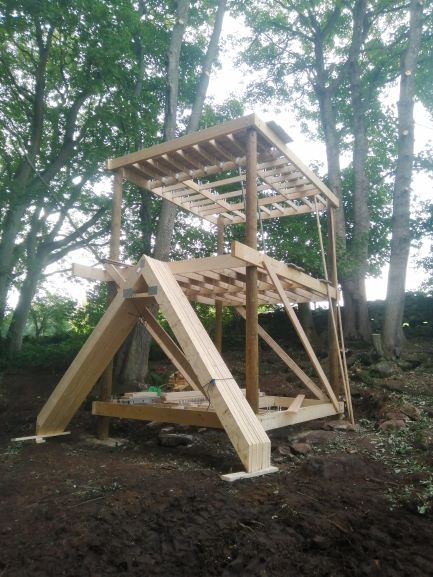
The construction of the framework was nothing more significant that large scale ‘meccano’ – the poles were lifted into place with a telehandler and secured in position in the footings. The floorplates and eave plates were secured to the poles to provide the framework.
The project was always going to be a “self-build” – with all the challenges that this was likely to create – safety and eventual certification. Fortunately, there is always experience to draw on in the local community.
The roofing presented the most challenging phase – working at height. Safety.
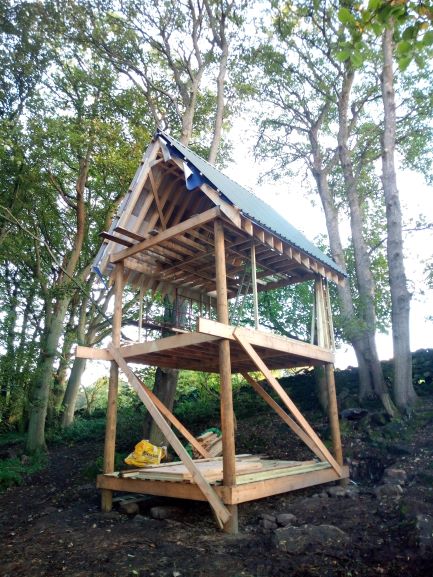
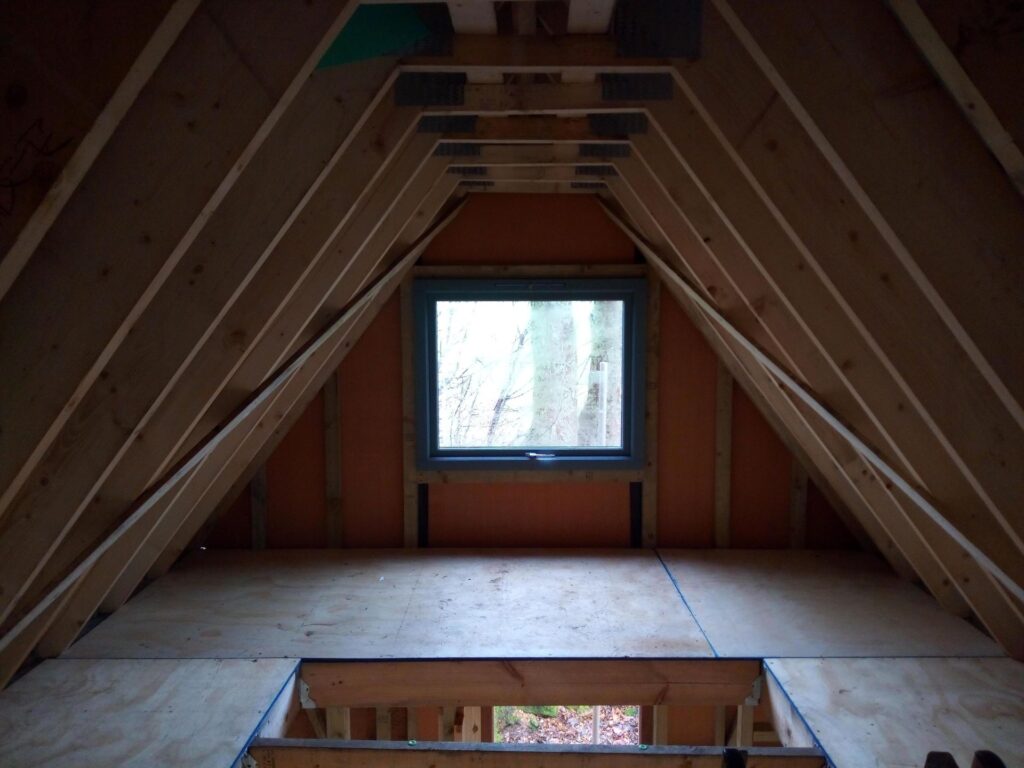
We used a combination of safety measures – rope safety, roofing ladders and working from the telehandler. The roof trusses were hoist up and secured to the eaves plates and secured to each other according to the roof design.
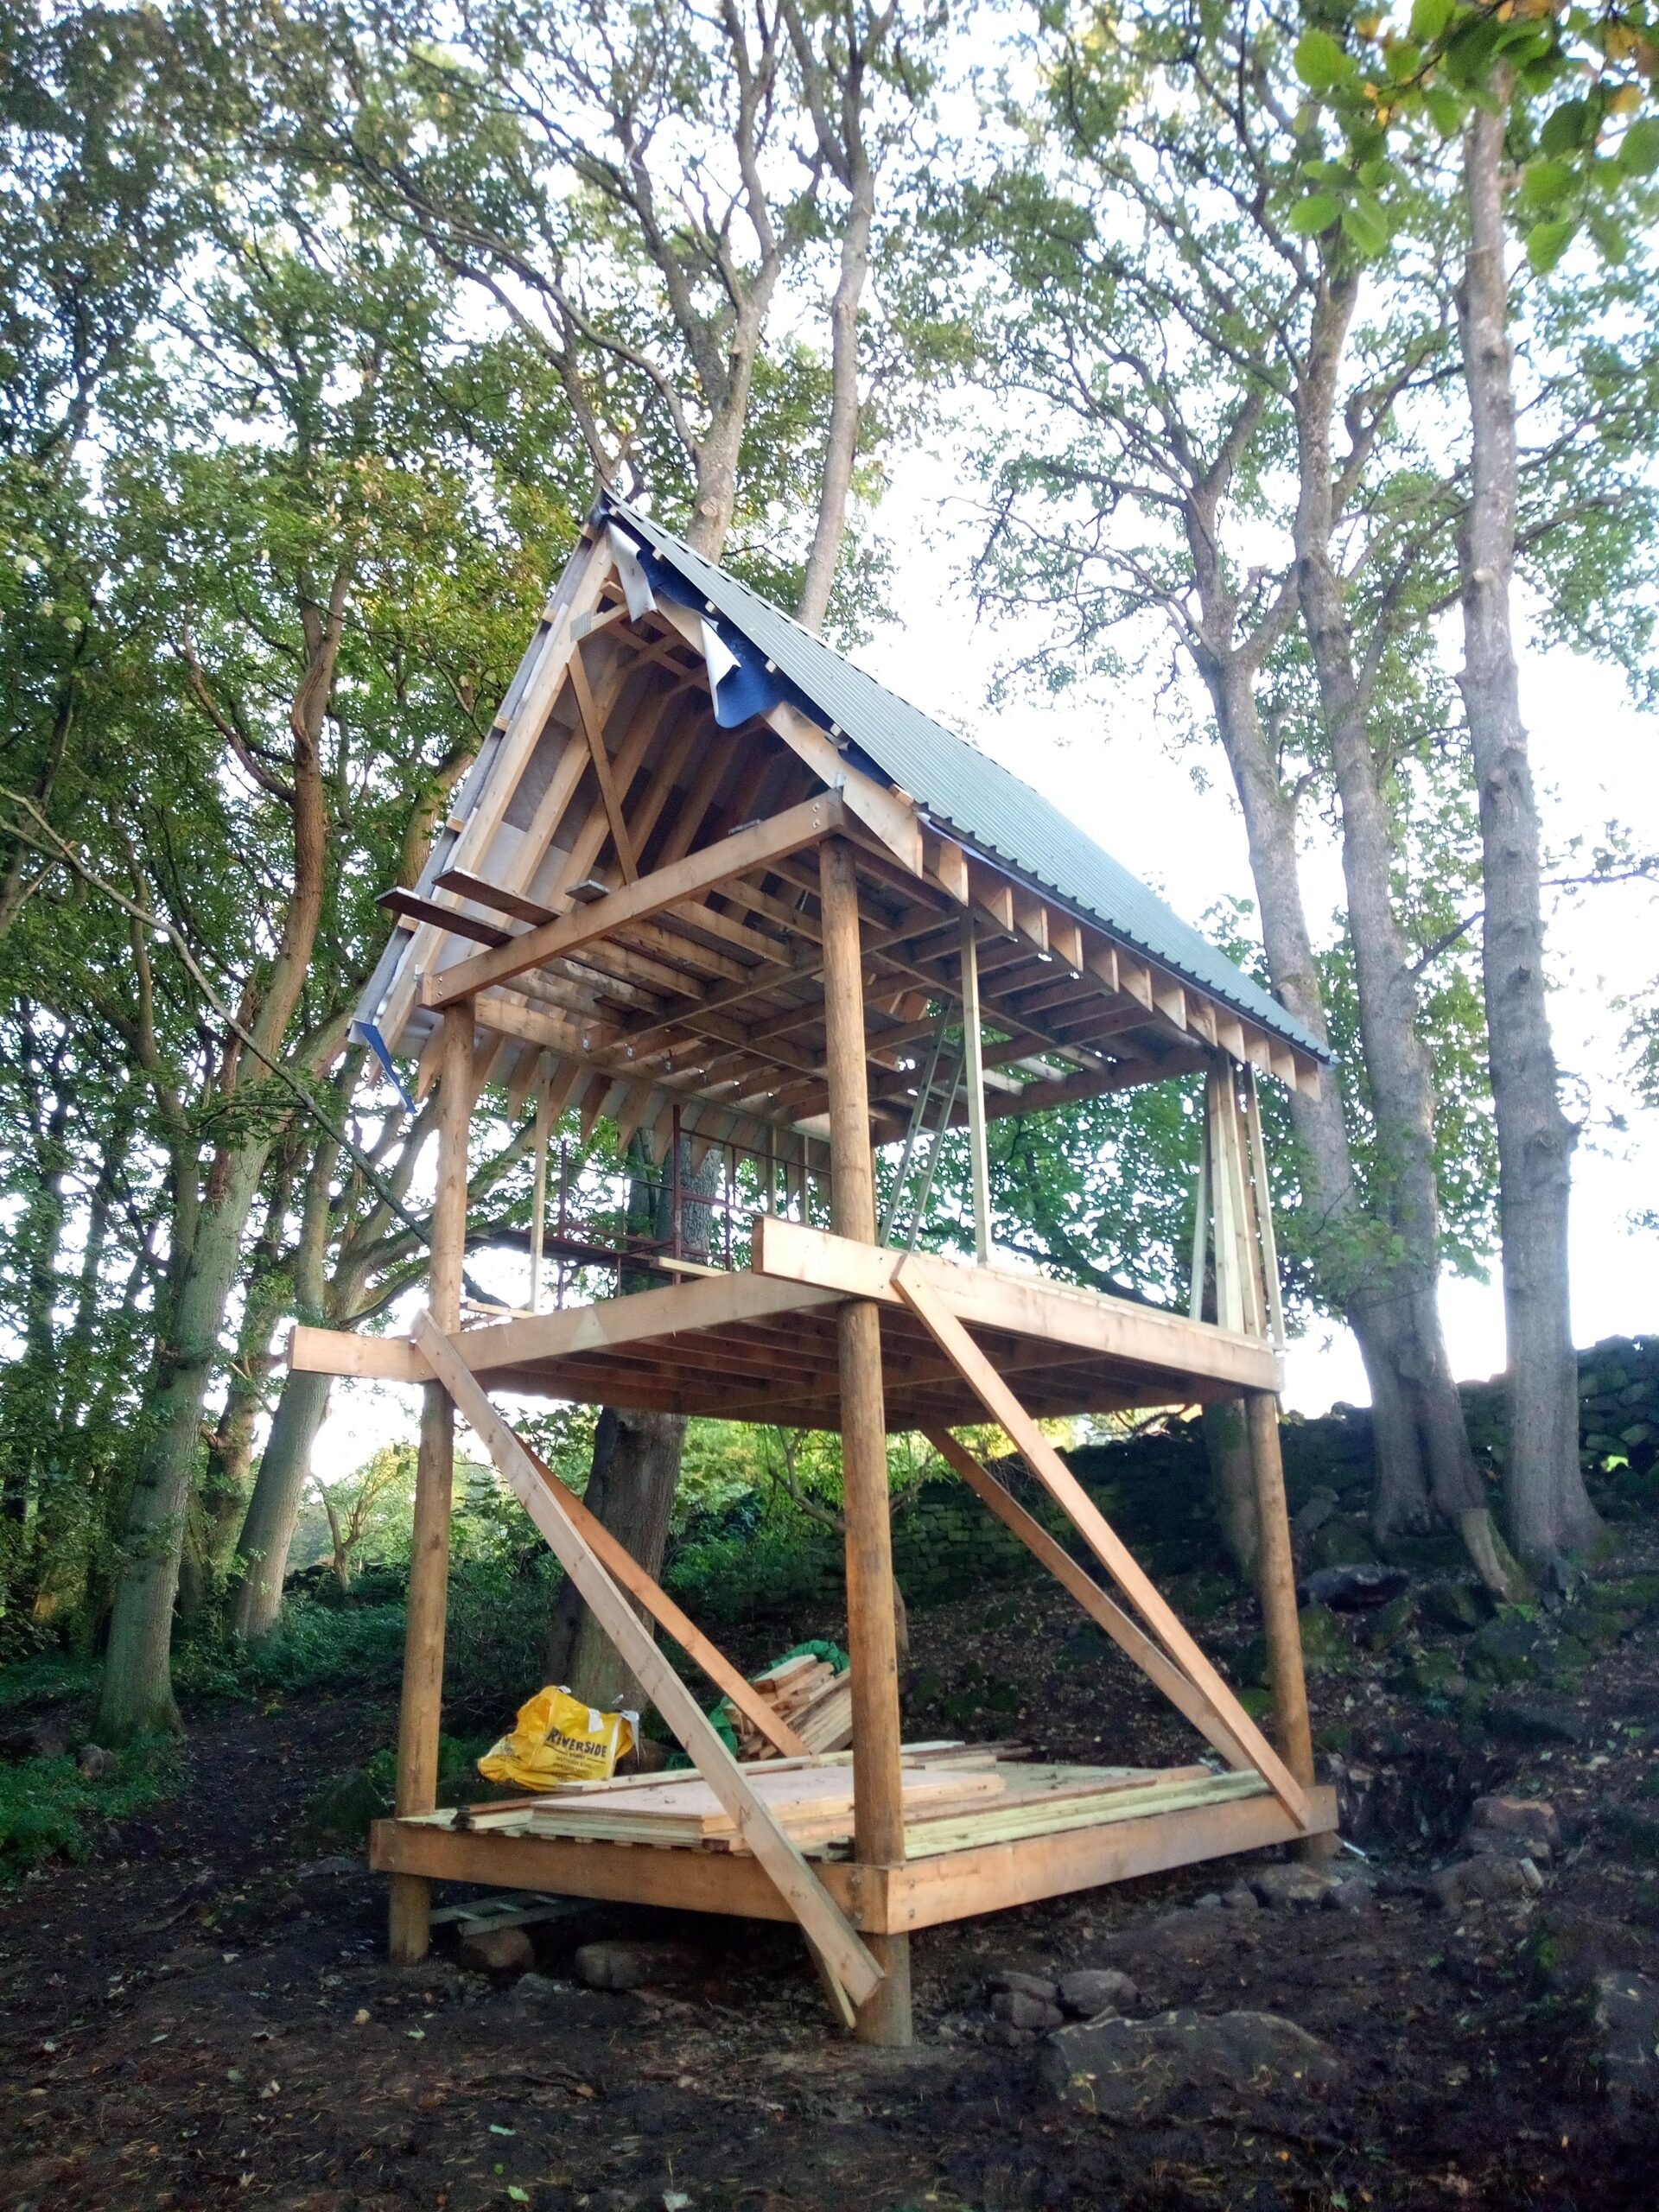
The membrane and purlins were attached to the roof trusses – initially from the telehandler or the middle deck and subsequently and progressively from on the roof. The corrugated steel sheeting was hoist by the telehandler and attached to the purlins – from the roof and from the roof ladder.
Roofing on a roof with a 60 degree slope is definitely not for the faint hearted. However, with the right equipment, skill and attitude, anything is possible.
However, it is now becoming an epic journey…
The exterior and interior
We decided that this wasn’t going to be one of those “cedar clad, stainless steel, house in the woods” of the style built by architects, but a rustic, woodland cabin. A retreat, not a Barratt House in the woods.
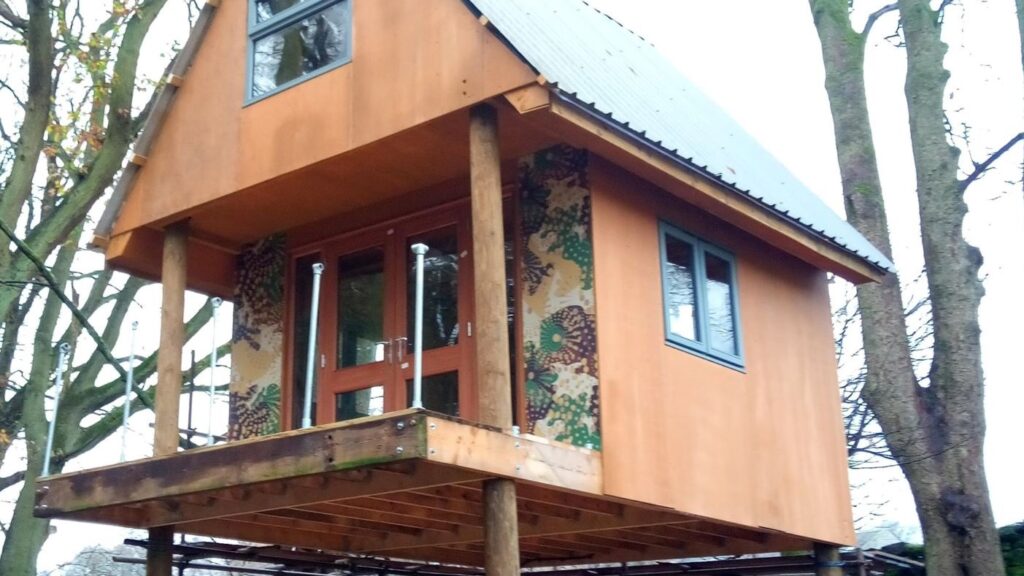
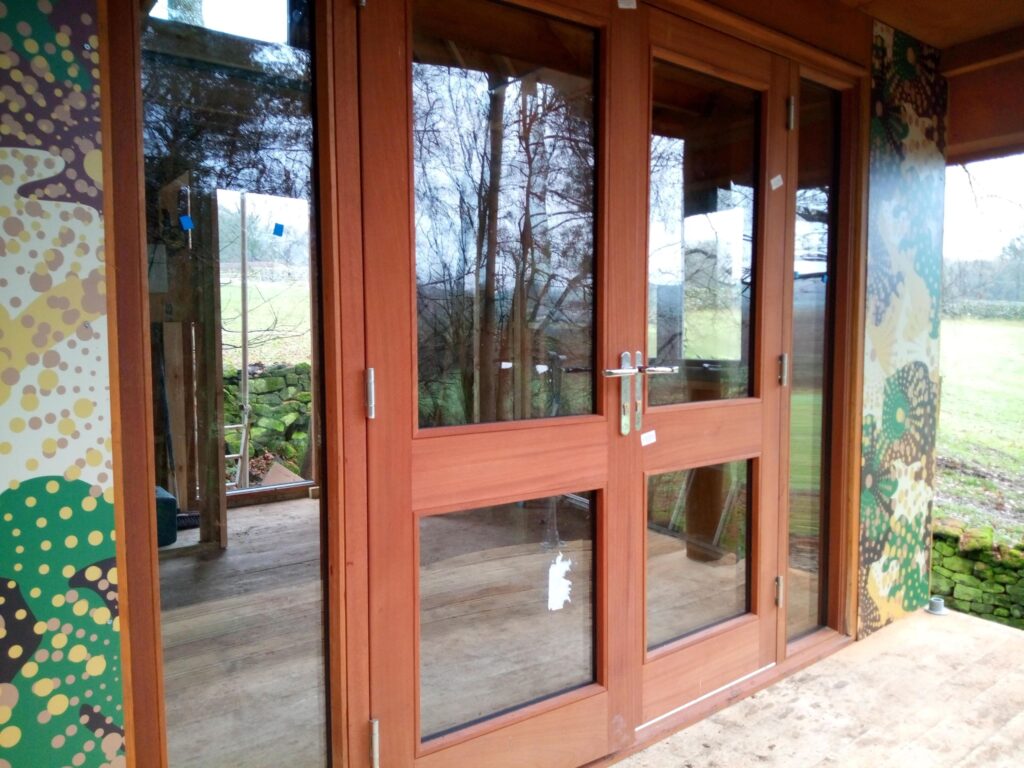
The decision to clad with exterior ply was quite simple – it needed to be simple to assemble and provide good weatherproofing. The ply can be painted or stained, or clad. We had the idea of cladding with Aluminium Composite boarding, which could be printed on, to provide better weatherproofing and the potential to be truly creative in the exterior decoration.
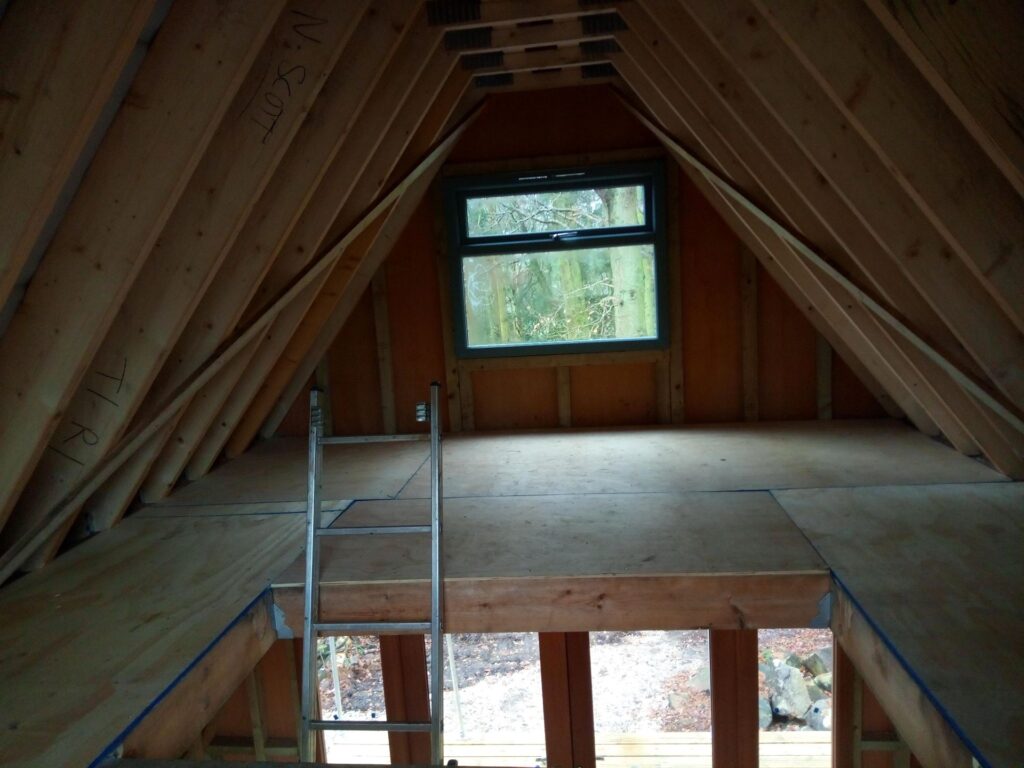
The interior is also clad in ply. The aim was that the cabin would have a natural feel to it, and wood always seems to be the right answer.
Staircase
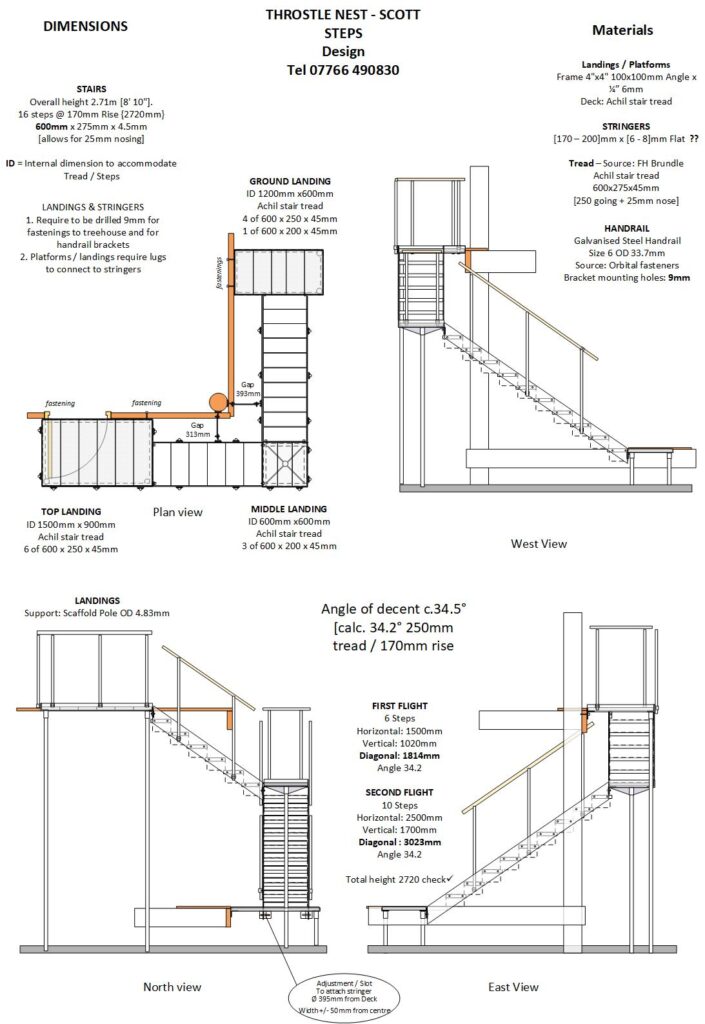
After much deliberation about ladders, rope bridges, and wooden steps, we finally settled on the need for steel! As much about “fire safety” as “accessibility”. I settled down to come up with a design which we could pass to our fabricator. I had a number of conversations with the fabricator about incorporating ready made treads (FH Brundle), which saved a lot of time.
We planned to install the staircase in Nov 2020. However, it took until March 2021 to get the steps fabricated. Partly, Covid-19 and partly that our fabricator was busy.
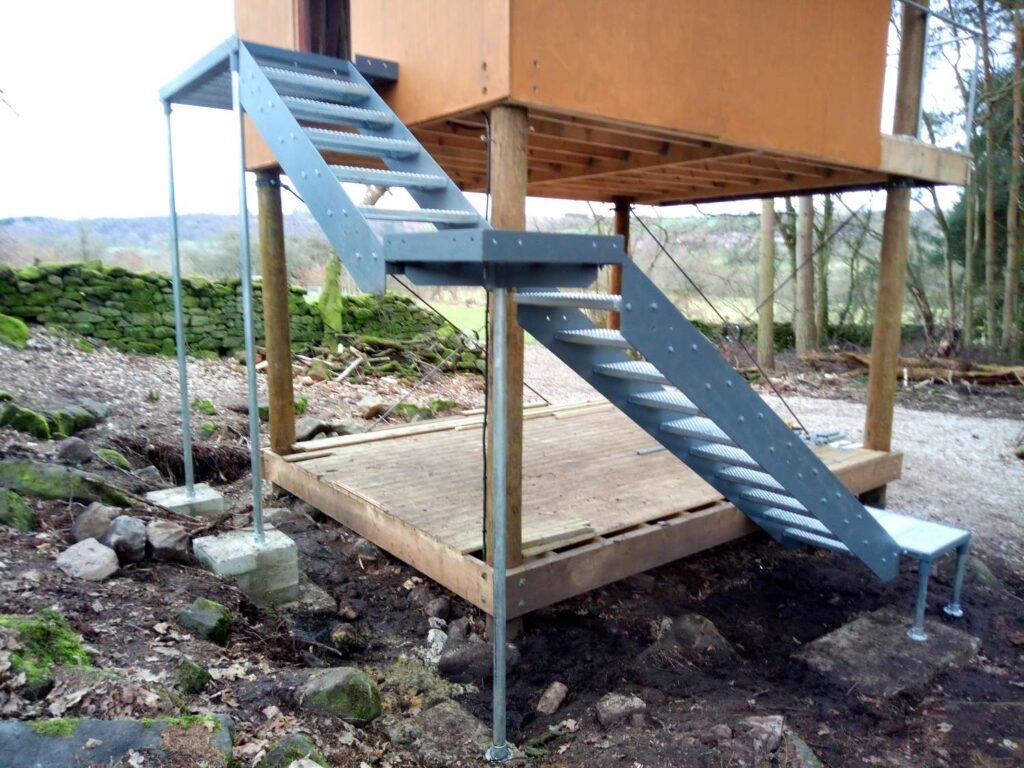
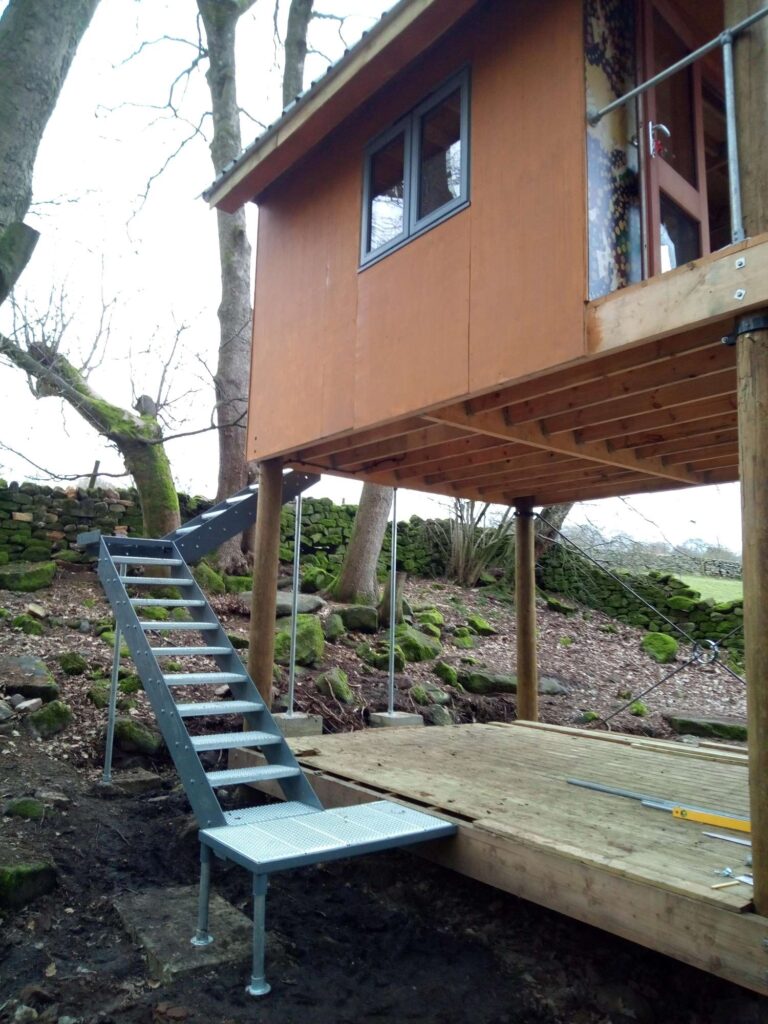
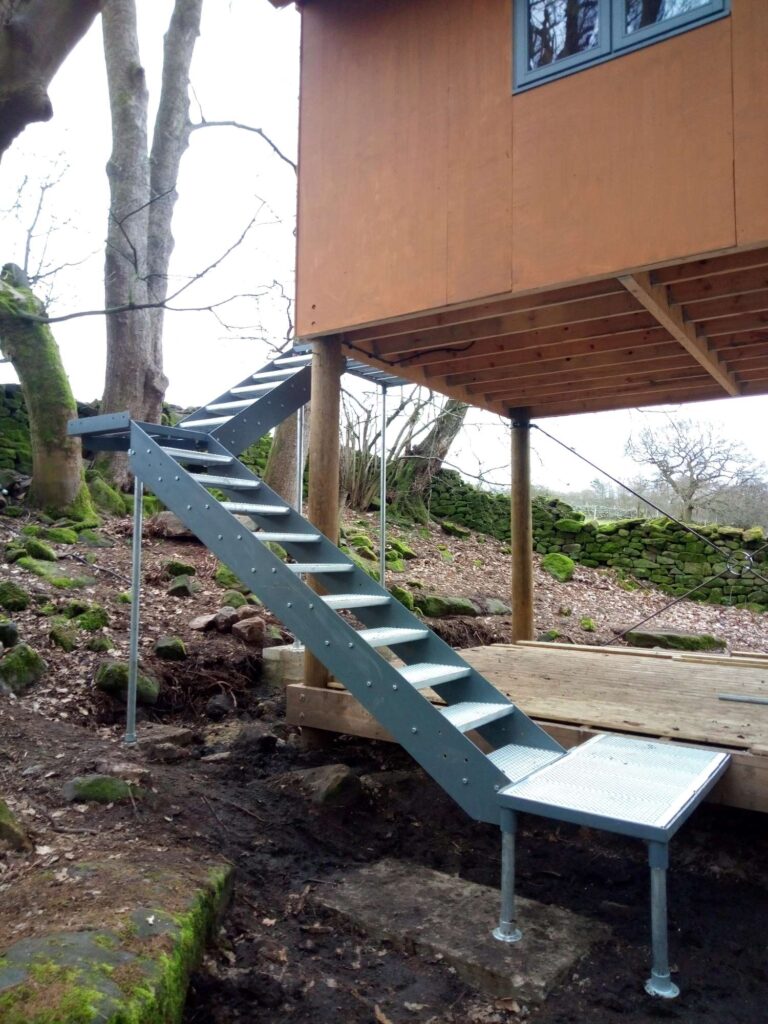
However, we were really delighted with the fabrication. Thank you Dennis Blackburn Engineering, Ripon for the precision manufacturing. We had the block and tackle out and the steelwork up in under 3 hours!
The last mile is the hardest
By May 2021 I’m suffering from Tiny House fatigue. The family are complaining that all I do is work on the Tiny House. All I do “do” is work on the Tiny House. The budget has been well and truly blown (see: Damage Report) and we’re not finished yet. There’s still “no shower, no toilet and no kitchen!”
Toilets!
There are lots of articles about “toilets” for tiny houses, with options ranging from composting and incinerating to portable cassette toilets. In not wanting to have any other building outside the tiny house, we opted for a cassette toilet. I’ll write later to say if this was the right choice!
It has always puzzled me that people can get fussed about the use of the word “toilet” as opposed to “loo”. I recently found an article explaining that the British word for toilet, “loo”, derives from the French practice of throwing the contents of their chamber pots out the window into the street preceded by a shout of “garde a l’eau!” (“watch out for the water!”). In England, this phrase was Anglicised, first to “gardy-loo!”, then just “loo”, and eventually came to mean the toilet/lavatory itself. There you are!
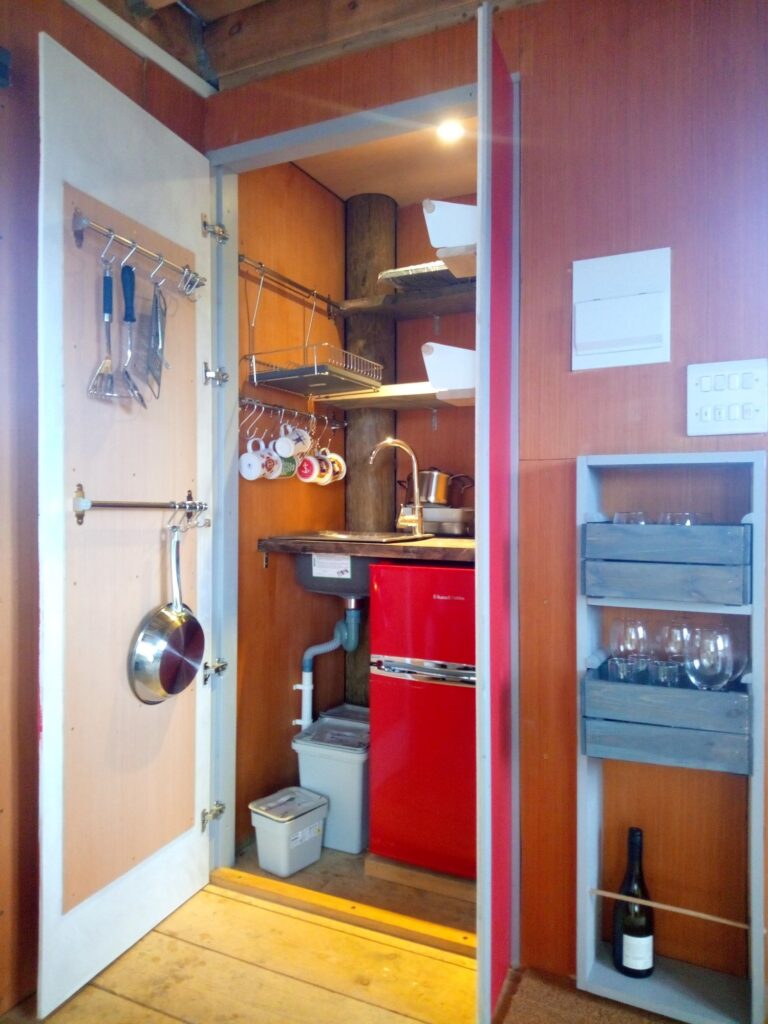
“Ikea to the rescue” – Clever design for small spaces
When it comes to design for small spaces – IKEA!
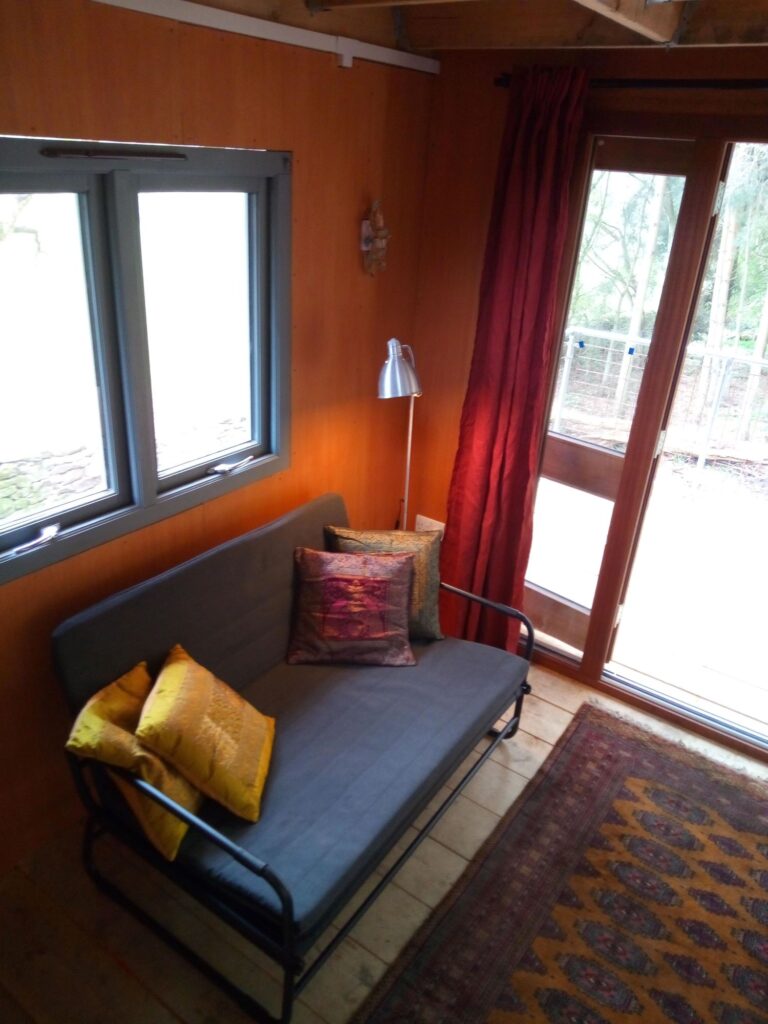
Seating for two 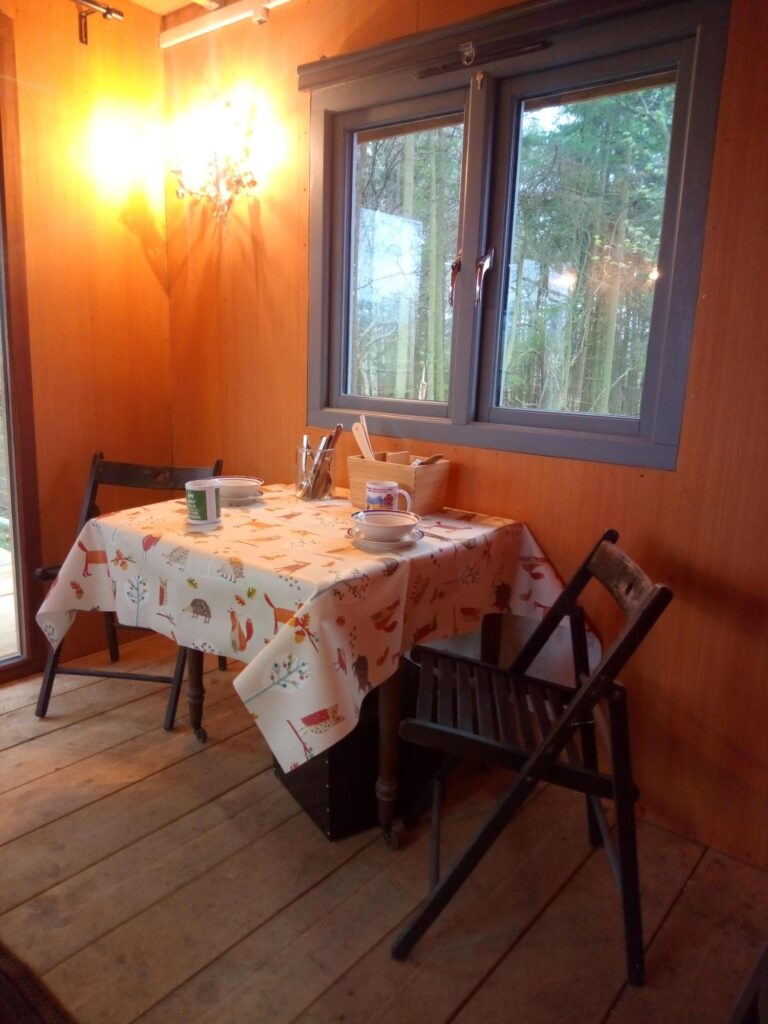
Dining for two
And Russell Hobbs! Some fantastic products for smaller kitchens.